Planning Electrical Work for Your New Backyard Spa
Adding a backyard spa? Learn how to handle HOA approvals, electrical permits, and the best wiring routes so your new hot tub is safe, compliant, and ready to enjoy.
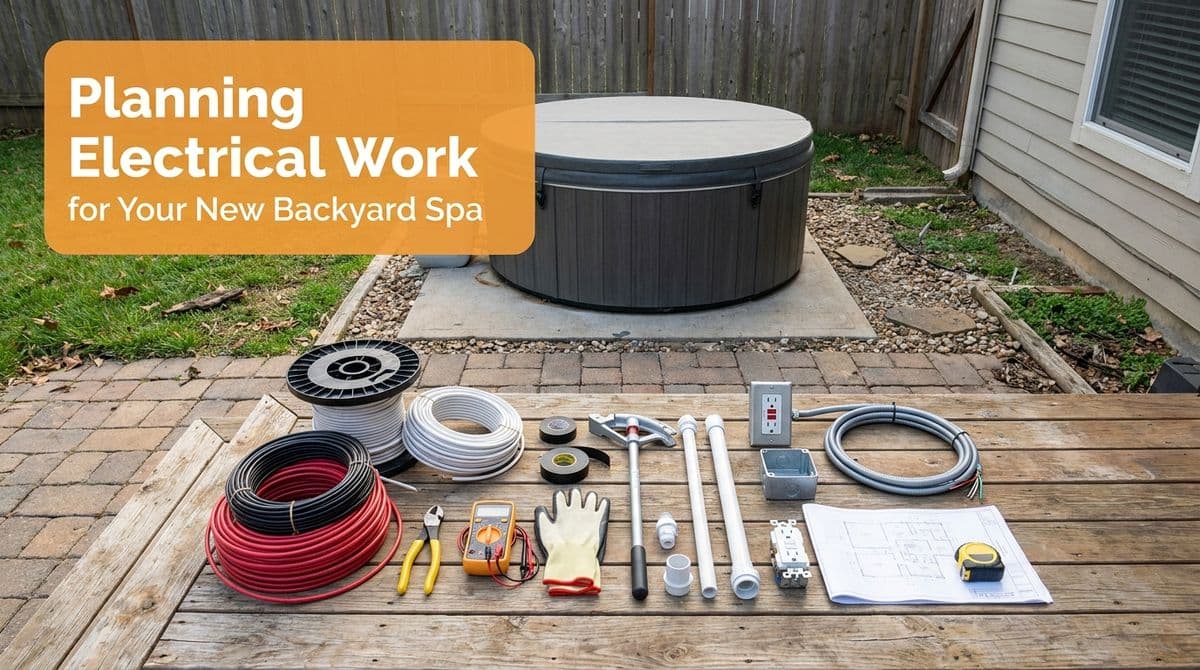
Planning Electrical Work for a New Backyard Spa
We recently got a call from a customer — let's call him Mark — who had just bought a new spa from a local hot tub dealer. He was excited to get it set up in his backyard, but like a lot of homeowners, he was staring down a list of questions: HOA approval, permits, concrete pad vs. pavers, and how exactly we’d run the wiring from his electrical panel out to the spa.
Mark lives in an HOA community, and he was already in the middle of submitting paperwork for his spa. He wanted to get on our schedule early, but also wanted to make sure he was doing everything the right way — safely, legally, and without surprises from the HOA or the city.
That call is a perfect example of what goes into planning the electrical side of a new backyard spa. If you’re thinking about adding one yourself, here’s how we walked Mark through the process, and how we generally handle these projects.
Step 1: Start With HOA Approval and Location Planning
In Mark’s case, the very first step was his HOA. Many master-planned communities and 55+ neighborhoods require written approval before you install a spa, especially if it’s visible from neighbors’ yards or common areas.
Here’s what we typically recommend before we even touch a wire:
- Pick the exact spa location — near enough to your electrical panel to keep the run reasonable, but far enough away from doors, windows, and property lines to meet code and HOA rules.
- Gather documentation — model information, dimensions, electrical requirements (usually 240V at 50A or 60A), and a simple site sketch showing where the spa will sit.
- Check HOA rules — some HOAs specify where equipment can go, how high it can be, whether screening is required, and sometimes even how conduit can be run on exterior walls.
Mark did this exactly right: he sent all the spa details and a layout to his HOA first, then called us to talk scheduling so everything would line up once he got approval.
Step 2: Do You Need a Permit for Spa Electrical?
During our call, we let Mark know something we’ve seen again and again in his area: many HOAs and cities require an electrical permit for spa installations.
From our experience on similar jobs, here’s how permits usually break down:
- Most in-ground or larger above-ground spas require an electrical permit.
- Some HOAs won’t give final approval until they see a permit or at least know a licensed electrician is doing the work.
- Inspections are part of the process — an inspector will check conduit, wire size, disconnect location, and grounding/bonding to be sure everything meets code.
For homeowners, the easiest path is usually to have us pull the permit on your behalf. That’s what we offered Mark: we handle the paperwork, schedule the inspection, and make sure the installation passes the first time.
Step 3: Choosing Between a Concrete Pad and Pavers
Mark was also trying to decide between a poured concrete pad and pavers for the spa base. We see this question a lot, and both options can work — but they do affect planning slightly.
Here’s how we look at it:
- Concrete pad – Usually more straightforward for support and leveling, and often easier to plan conduit routes around or under. Great for long-term stability.
- Pavers – Attractive and versatile, but require a properly compacted base. We often coordinate with a paver installer so conduit is placed before final pavers go in.
In Mark’s case, he hadn’t hired anyone for the pad yet, so we offered to connect him with a contractor we regularly work with who does both concrete and pavers. Coordinating early between the electrician and the pad/paver installer makes the job cleaner and usually saves time and money.
Step 4: How We Plan the Wiring Route
Mark already knew his main electrical panel was on the same side of the house as the planned spa location — that’s a big help. He also had a factory-supplied spa disconnect box ready for us to use.
Here’s the basic layout we walked him through (and what we use on most spa jobs):
- From the main panel to the spa disconnect
We mount the spa disconnect on the exterior wall and run electrical conduit along the bottom of the house from the main panel to that disconnect. This is usually surface-mounted PVC or metal conduit, securely fastened and sealed. - From the disconnect to the spa
From the disconnect, we either continue the conduit along the house and then go underground to the spa, or go underground sooner, depending on the layout. We always aim for the most cost‑effective and code‑compliant route, not digging any more than necessary.
Mark mentioned that on his last spa, the installer ran conduit along the surface beside the house, then went underground only for the last stretch to the spa. That’s very similar to what we typically do — it’s efficient, clean, and avoids excessive trenching while still meeting burial depth and protection requirements.
Step 5: Conduit, Trenching, and Keeping Costs Reasonable
One of Mark’s big questions was whether we’d have to “open cut” (dig a full trench) the entire path from the panel to the spa. He wasn’t thrilled about turning his yard into a construction zone — and honestly, neither are we.
Our approach is always to:
- Use wall-mounted conduit runs where allowed instead of digging the entire way.
- Dig only where required by code — usually the section from the house to the spa pad itself, at the proper burial depth.
- Plan the route carefully during the estimate so you know exactly where the conduit and trenching will go.
This is why we like to come out for a no‑cost on‑site estimate, just like we scheduled with Mark. Seeing the actual layout lets us give a firm quote, spot potential issues with HOA rules or physical obstacles, and choose the cleanest, most efficient wiring route.
Step 6: Timing Everything With Your Spa Delivery
Mark’s spa was a few weeks out, and he wanted to “get all his ducks in a row” — permits, HOA approval, pad, and electrical. That’s the right mindset.
Here’s how we usually time a project like this:
- HOA approval first – so you’re not installing anything they might reject.
- Pad or pavers next – get the spa base in place or at least scheduled.
- Electrical rough‑in – we install the conduit, disconnect, and wiring up to the spa location, usually before or right after the spa is delivered.
- Final hook‑up and inspection – once the spa is set, we make final connections and schedule any required inspections.
When all of this is coordinated up front, your spa is often ready to heat up within a day of it being set in place.
Thinking About a Backyard Spa? Start With a Site Visit
If you’re planning a new hot tub or spa, you don’t have to guess your way through permits, HOA rules, and wiring options. The easiest step is the one Mark took: call an electrician early.
We’ll walk the property with you, look at your panel capacity, talk through conduit routes, help with permits, and coordinate with your concrete or paver installer. That way, when the spa shows up, all that’s left to do is fill it, heat it, and relax.